Cannon network cameras setting method | Web Conferencing System - LiveOn - JAPAN MEDIA SYSTEMS CORP.
Cannon network cameras setting method
The following is explanation of how to set up Canon network cameras to use on LiveOn.
Please read the cameras' manual in advance and set up IP address for the cameras.
- Please download and install plug-in for Canon network camera from Support on LiveOn webpage.
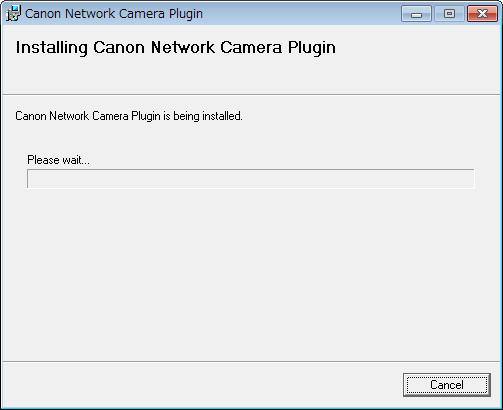
(1) Please double-click plug-in you downloaded and start the installation. <Installation Screen>
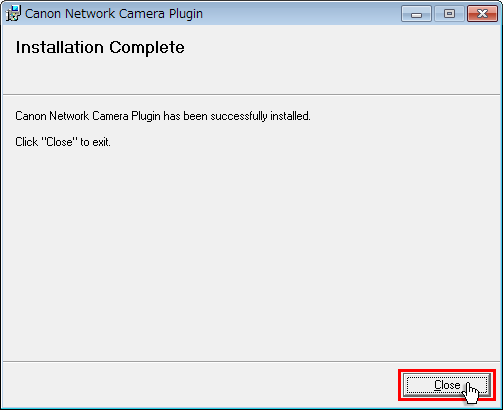
(2) It's done when "Installation Complete" is displayed. Please click "Close" button. <Installation End Screen>
- Please enter meeting room on LiveOn to set up the cameras.
(1) After you enter the room, please choose "Environment Settings" and "Video" tab.
Please choose "Canon Network Camera" from "Camera Device Setting" and click "Apply" button.
Because Camera's set up is not done yet, "No destination setting." is displayed on your screen.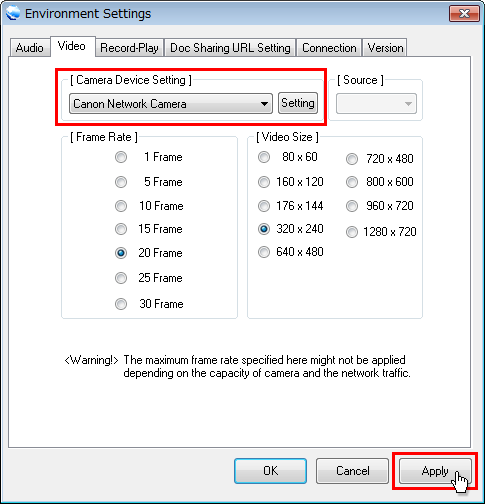
(2) Next please click "Setting" button. 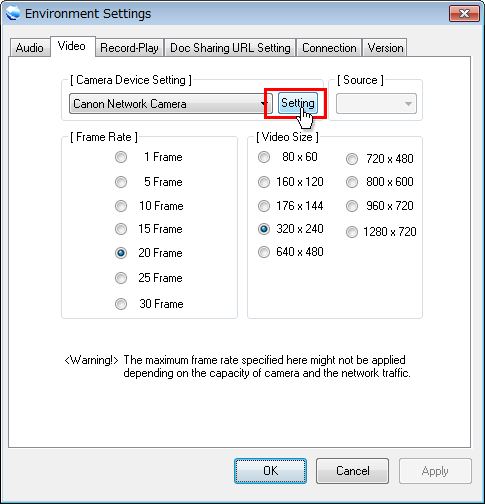
(3) Camera's access point screen is displayed, so please click "Add" button. 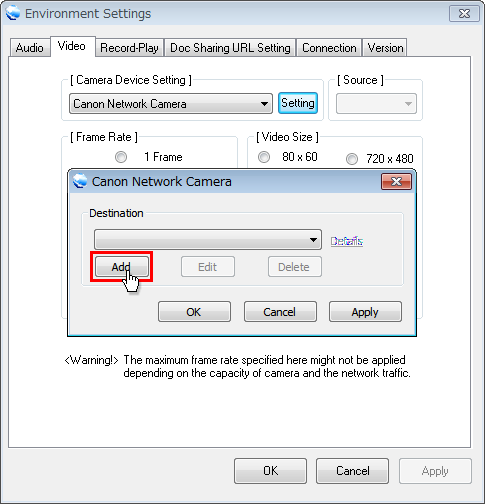
(4) Access point screen in displayed, and please set up and click "OK" button. • Host Name : Please enter host name of camera or IP address. • Port : Please enter camera's access port number. • Protocol : Please choose http or https. 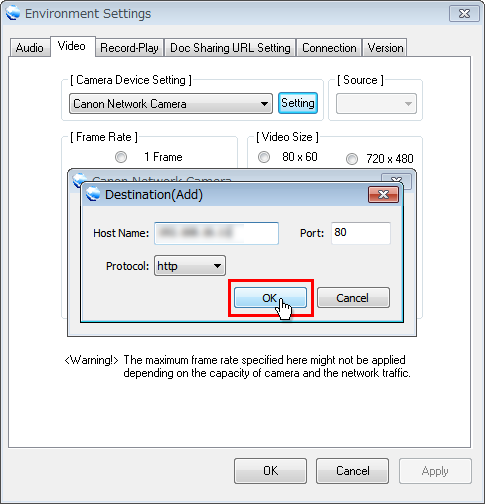
(5) Please go back to access point setting screen. IP address you registered is displayed and click "OK" button. 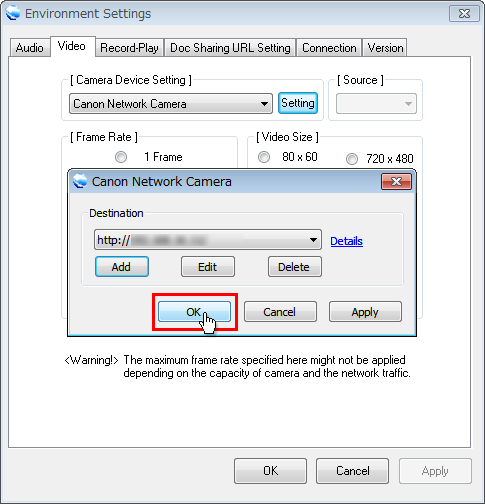
* Link for advanced setting
Administration tool screen camera's advanced setting is done is displayed.
In the case you use newer one than Internet Explorer 9, after set up, please display administration tool screen and register URL at Internet Explorer's approved site.(6) Please go back to Environment Settings screen. Camera image is displayed on your screen and please click "OK" button. 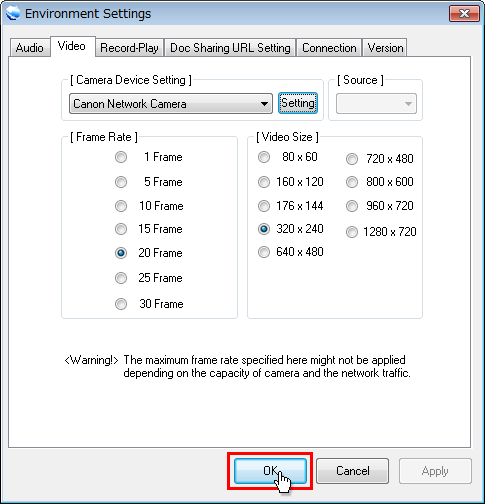
Attention) In the case you use camera, please make it operating status before you enter the room.
| HOME |


